- OSU Drupal 7 Overview
- Technical Manual
- How to Login
- Working With Content
- Basic Content Types
- Announcements
- Bibliography
- Live Feeds
- Book Pages
- Media Module
- Features
- Text Editor
- Webform
- Clone a Node
- Content Management List
- Flush Cache
- Localist Calendar Widget Integration
- Locations
- Using Paragraph Bundles
- Working With Structure
- Working With Appearance
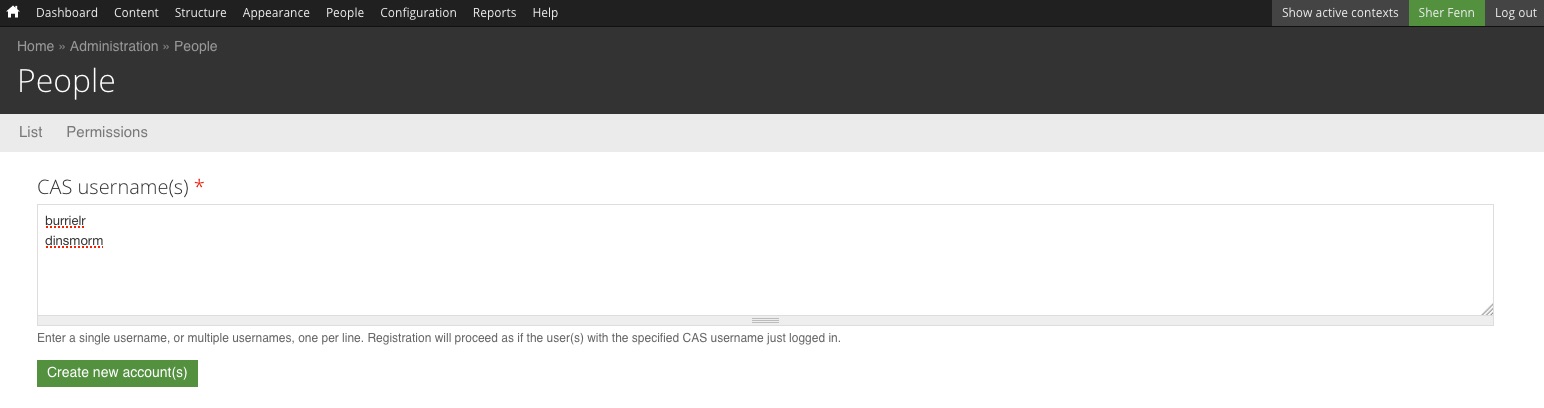
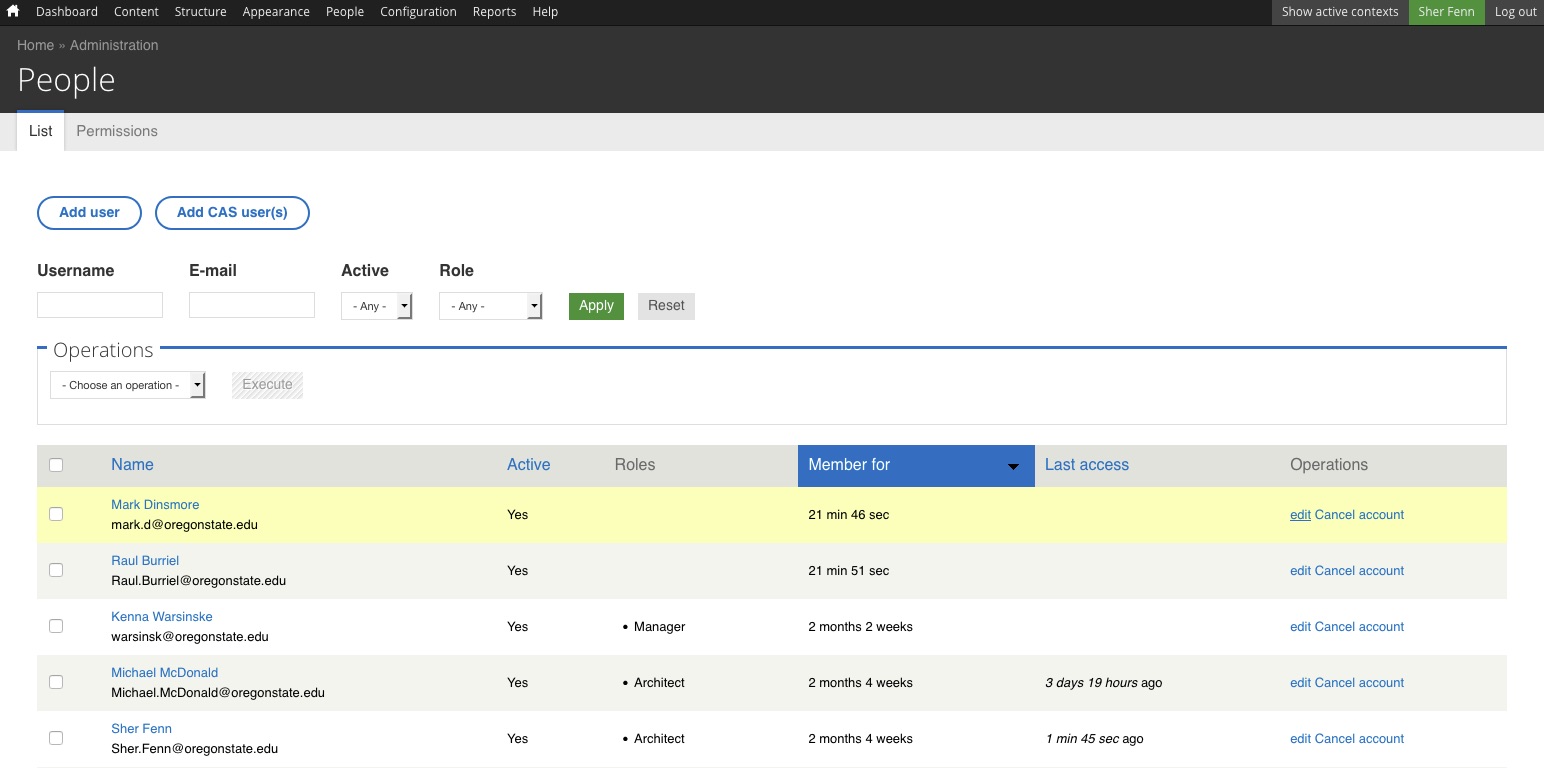
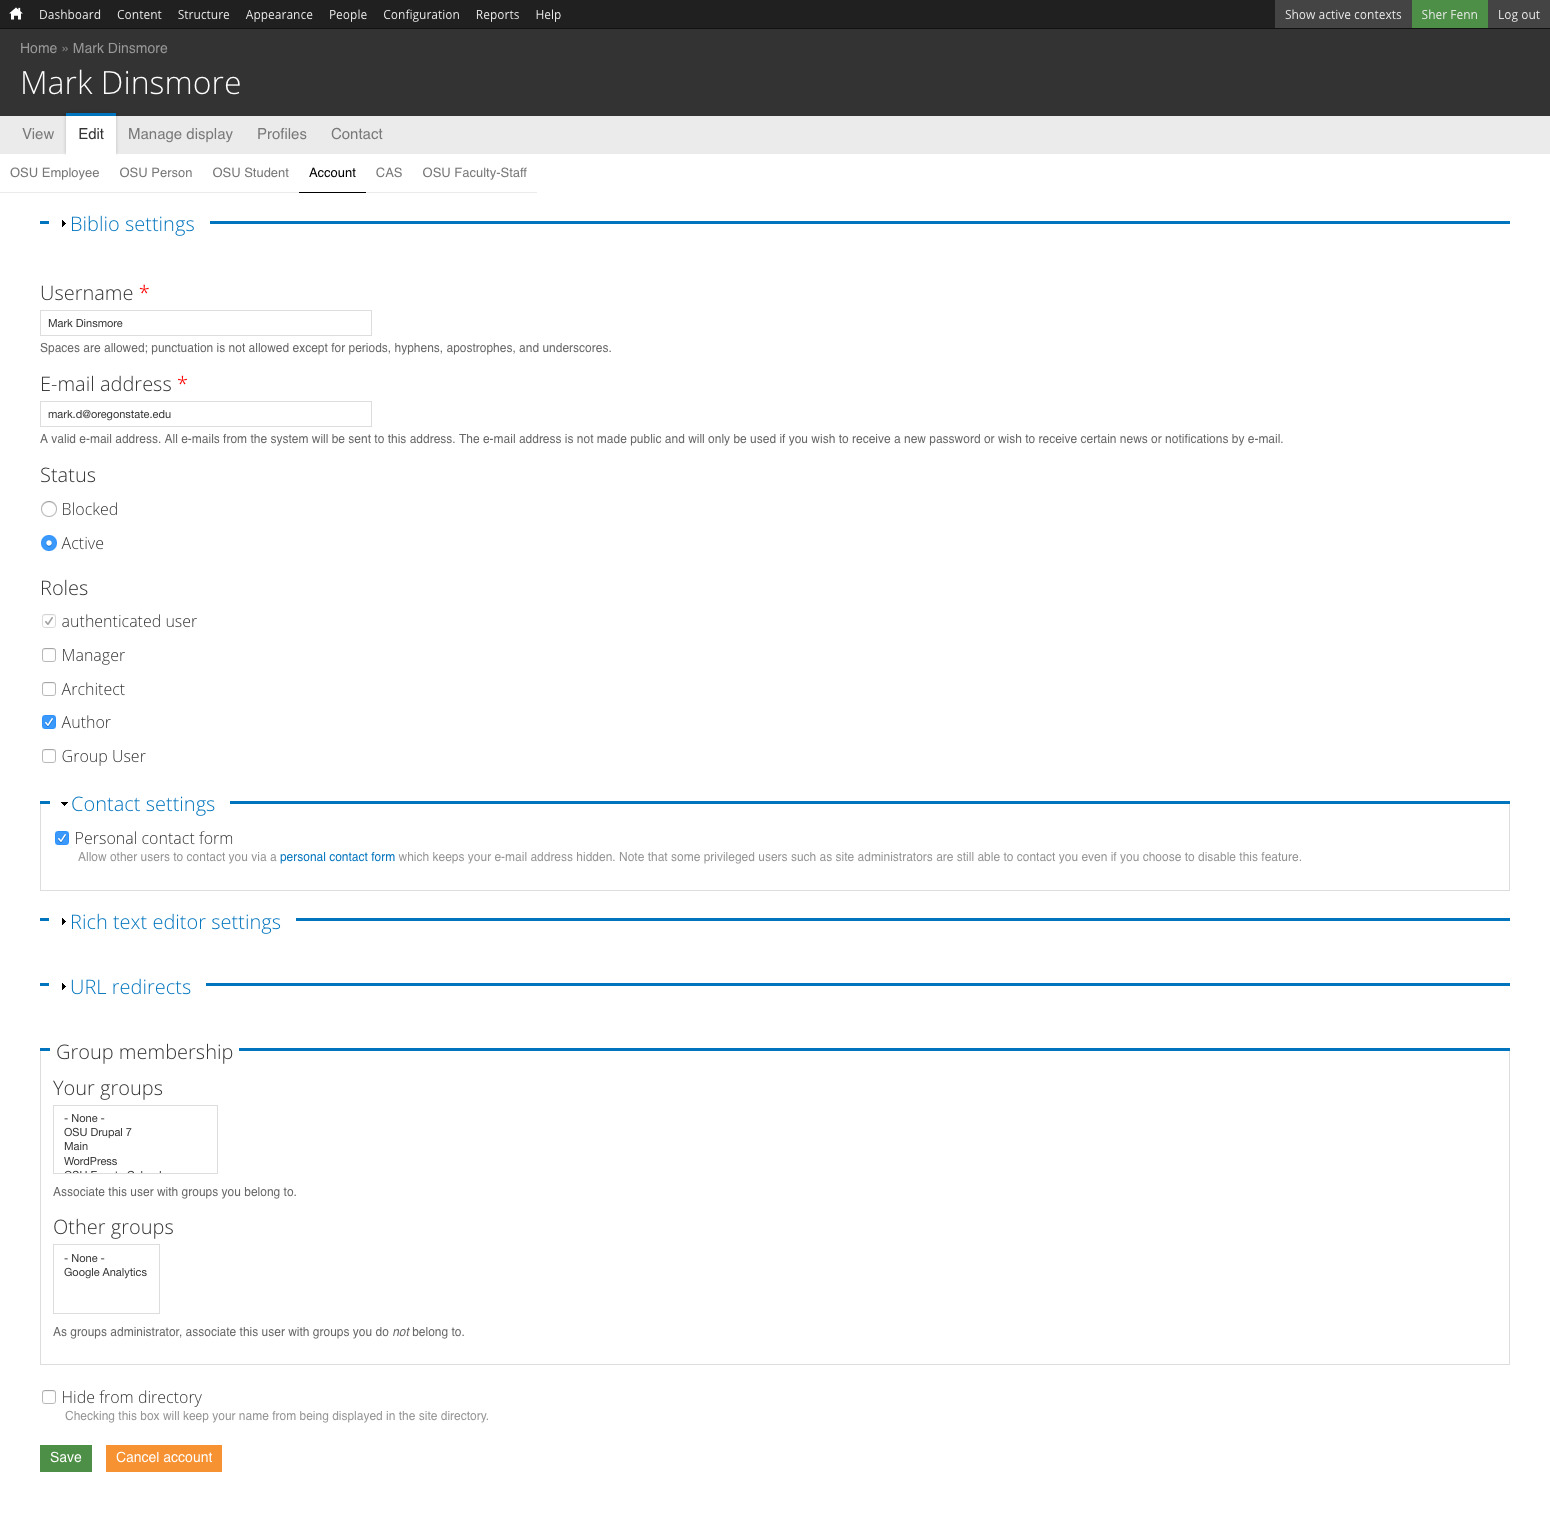
- Working With People
- Working with Configuration
- Add a ReCAPTCHA Challenge to a Webform
- Announcement Configuration
- Biblio Configuration
- Media Configuration
- Metatag Configuration
- Organic Groups Configuration
- Determine a Group's Structural Mode
- Group Configurations - Initial
- Group Configs - Nested
- Logical Group URLs Using Pathauto
- System
- Text Formats
- Token
- URL Path Pattern Configuration
- URL Redirects
- OSU Drupal 7 Configurations
- Working With Systems
- Acquia Dev Desktop
- OSU Migrate
- Additional Information
- Class Hierarchy
- Creating a Module File
- Custom Content Migrations
- Custom Field Mappings
- Drush Commands for Migrations
- Function Calls for Data Migration
- Migrating a File
- Migrating from Multiple Sources to a Single Destination
- Migrations with Organic Groups
- Modules to Enable
- Registering Migrations
- Working With Organic Groups